
Take the SPROUT CHALLENGE and grow your own plants from seeds
Take the sprout challenge with the Sharon Garden Club!
Join us as we plant and nurture our seedlings.
January and February are actually great months to start planning and gathering the materials needed to grow your own seeds. Check out the best lighting options for your little green sprouts, peruse cool seed catalogues and look at online resources for fun options while the garden is snoozing. Get excited about Springtime; just two months away! You can start preparing your seeds in their planting trays. Keep in a cool place and we will remind you in early March when it’s time to gently wake up your seeds.
Send us photos of your progress, or email us with questions. Let’s keep track of our little sprouts as a group.
Getting started
Materials needed:
Potting Mix
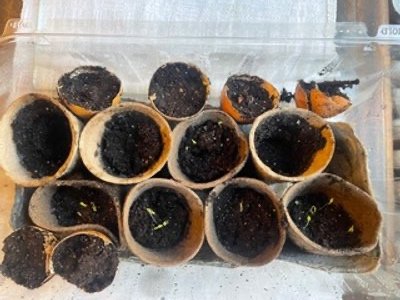
Germination containers or Pop-up Pellets
Seed
Bulb Sprayer or Mister
Plastic Bag
Bottom Watering Trays
Labels


Sowing Instructions
Moisten the potting mix and fill the germination containers to 1/2 inch form the top. Lightly firm down the soil. If you are using pop-up pellets, arrange them in the bottom of a try and pour a few inches of water over them and let them fully expand.
Evenly scatter the seeds over the surface of the medium or plant them in shallow rows spaced about 1” apart for small seeds and 2” apart for large seeds. For individual pots, sow two to three seeds in each container. For pop-up pellets, place one seed in the center of the pellet and pick the sides to cover the seed.
Lightly cover the seeds with potting mix to a depth of two to three times the size of the seed diameter. If the seeds need light to germinate, just press them onto the surface.
Lightly water-in the seeds with a bulb sprayer or mister, making sure the seeds are not displaced.
Label and cover the containers with clear or black plastic (depending on the seeds need for light)


Waking up your seeds
Seeds grow best in warm and moist conditions.
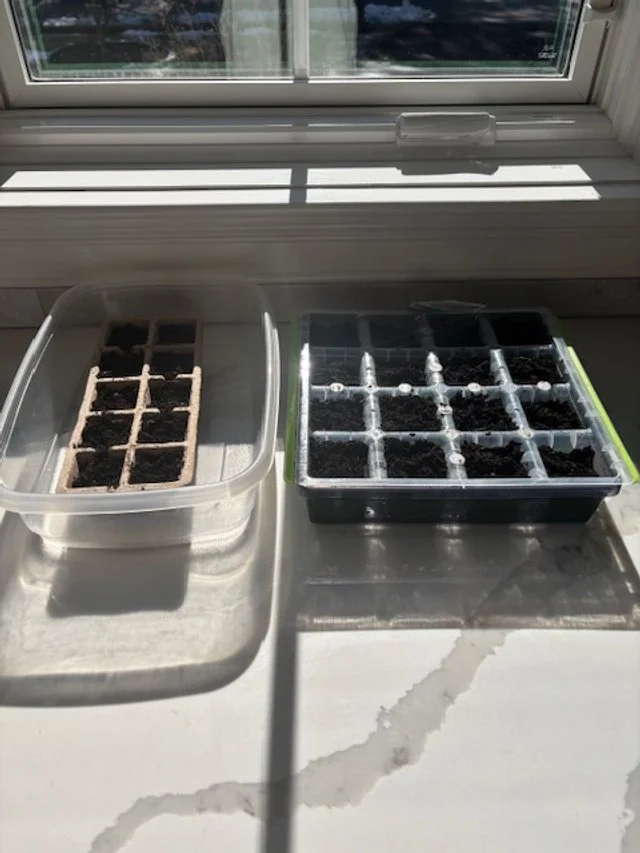
Water your potting mix from the bottom up - this can be done only with containers that have bottom drainage holes. Set the containers in a plastic tray or liner and fill it with 1/2 to 1 inch of warm to tepid water. The potting mix will act as a wick to take up water from the bottom.
This avoids the problem of displacing seeds by overhead watering and decreases disease problems that occur when a seedlings foliage gets too wet.
If you don’t water from the bottom, then a bulb sprayer is the best method. Either method provides enough water so the potting mix is lightly and evenly moist, not heavy and waterlogged.
Check the mix a few times a day to make sure it’s not too dry or too wet.
If the mix is too wet, empty the water from the bottom tray until the soil dries out a bit.
Give them Light!
Once the seeds have germinated, the seedlings need 12 to 14 hours of light per day. If you don’t have an appropriate greenhouse or enough southern exposure, use fluorescent bulbs
Your Seeds like High Humidity and Warmth
To maintain high humidity levels during germination, cover the containers with a piece of glass, plastic bag or other plastic covering. If water begins condensing on the cover, immediately remove it and allow to dry out a bit before placing the cover back over the container.
If conditions are too damp and humid, you may experience damping off or other disease problems.
Remove the cover once 50 to 70 percent of the seeds sown have germinated.
Since most seeds need temperatures of 70 to 75 F to germinate, place the containers in a warm site or use electric germination kits.
Once the Seeds Germinate
After germination, the seedlings do not need temperatures as high to grow on as they did to germinate.
Seedlings do not need electric heat mats.
Day temperatures can be reduced to 60 - 65 F.
Night temperatures can be reduced by another 10F.
Reducing the temperatures will make the plants sturdier and healthier
Thinning
When the seedlings have developed their first set of true leaves, they need to be thinned and out and / or transplanted into larger containers so the remaining seedlings will have adequate room to develop.
Seeds that were sown into individual cell packs or peat pots need to be thinned only.
Leave one seedling in the container to grow in until it can be planted in the garden.
Always select the largest, strongest and healthiest seedling to remain.
Thin out other seedlings by cutting them off at soil level with scissors or tweezers. This method will not disturb the root growth of the remaining seedling.
If seeds were grown into germination flats, thin so that the remaining seedlings have at least 1 to 2 inches between them for smaller plants and 3 to 4 inches for larger plants.
If the flats are at least 3 inches deep, they can be used to grow on the seedlings. If not, transplant the seedlings into larger containers.
Transplanting
Seedlings are ready to be transplanted into larger growing containers once they reach about 2 inches in height.
To help prevent root damage, make the planting hole in the new container before lifting the seedling from its pot.
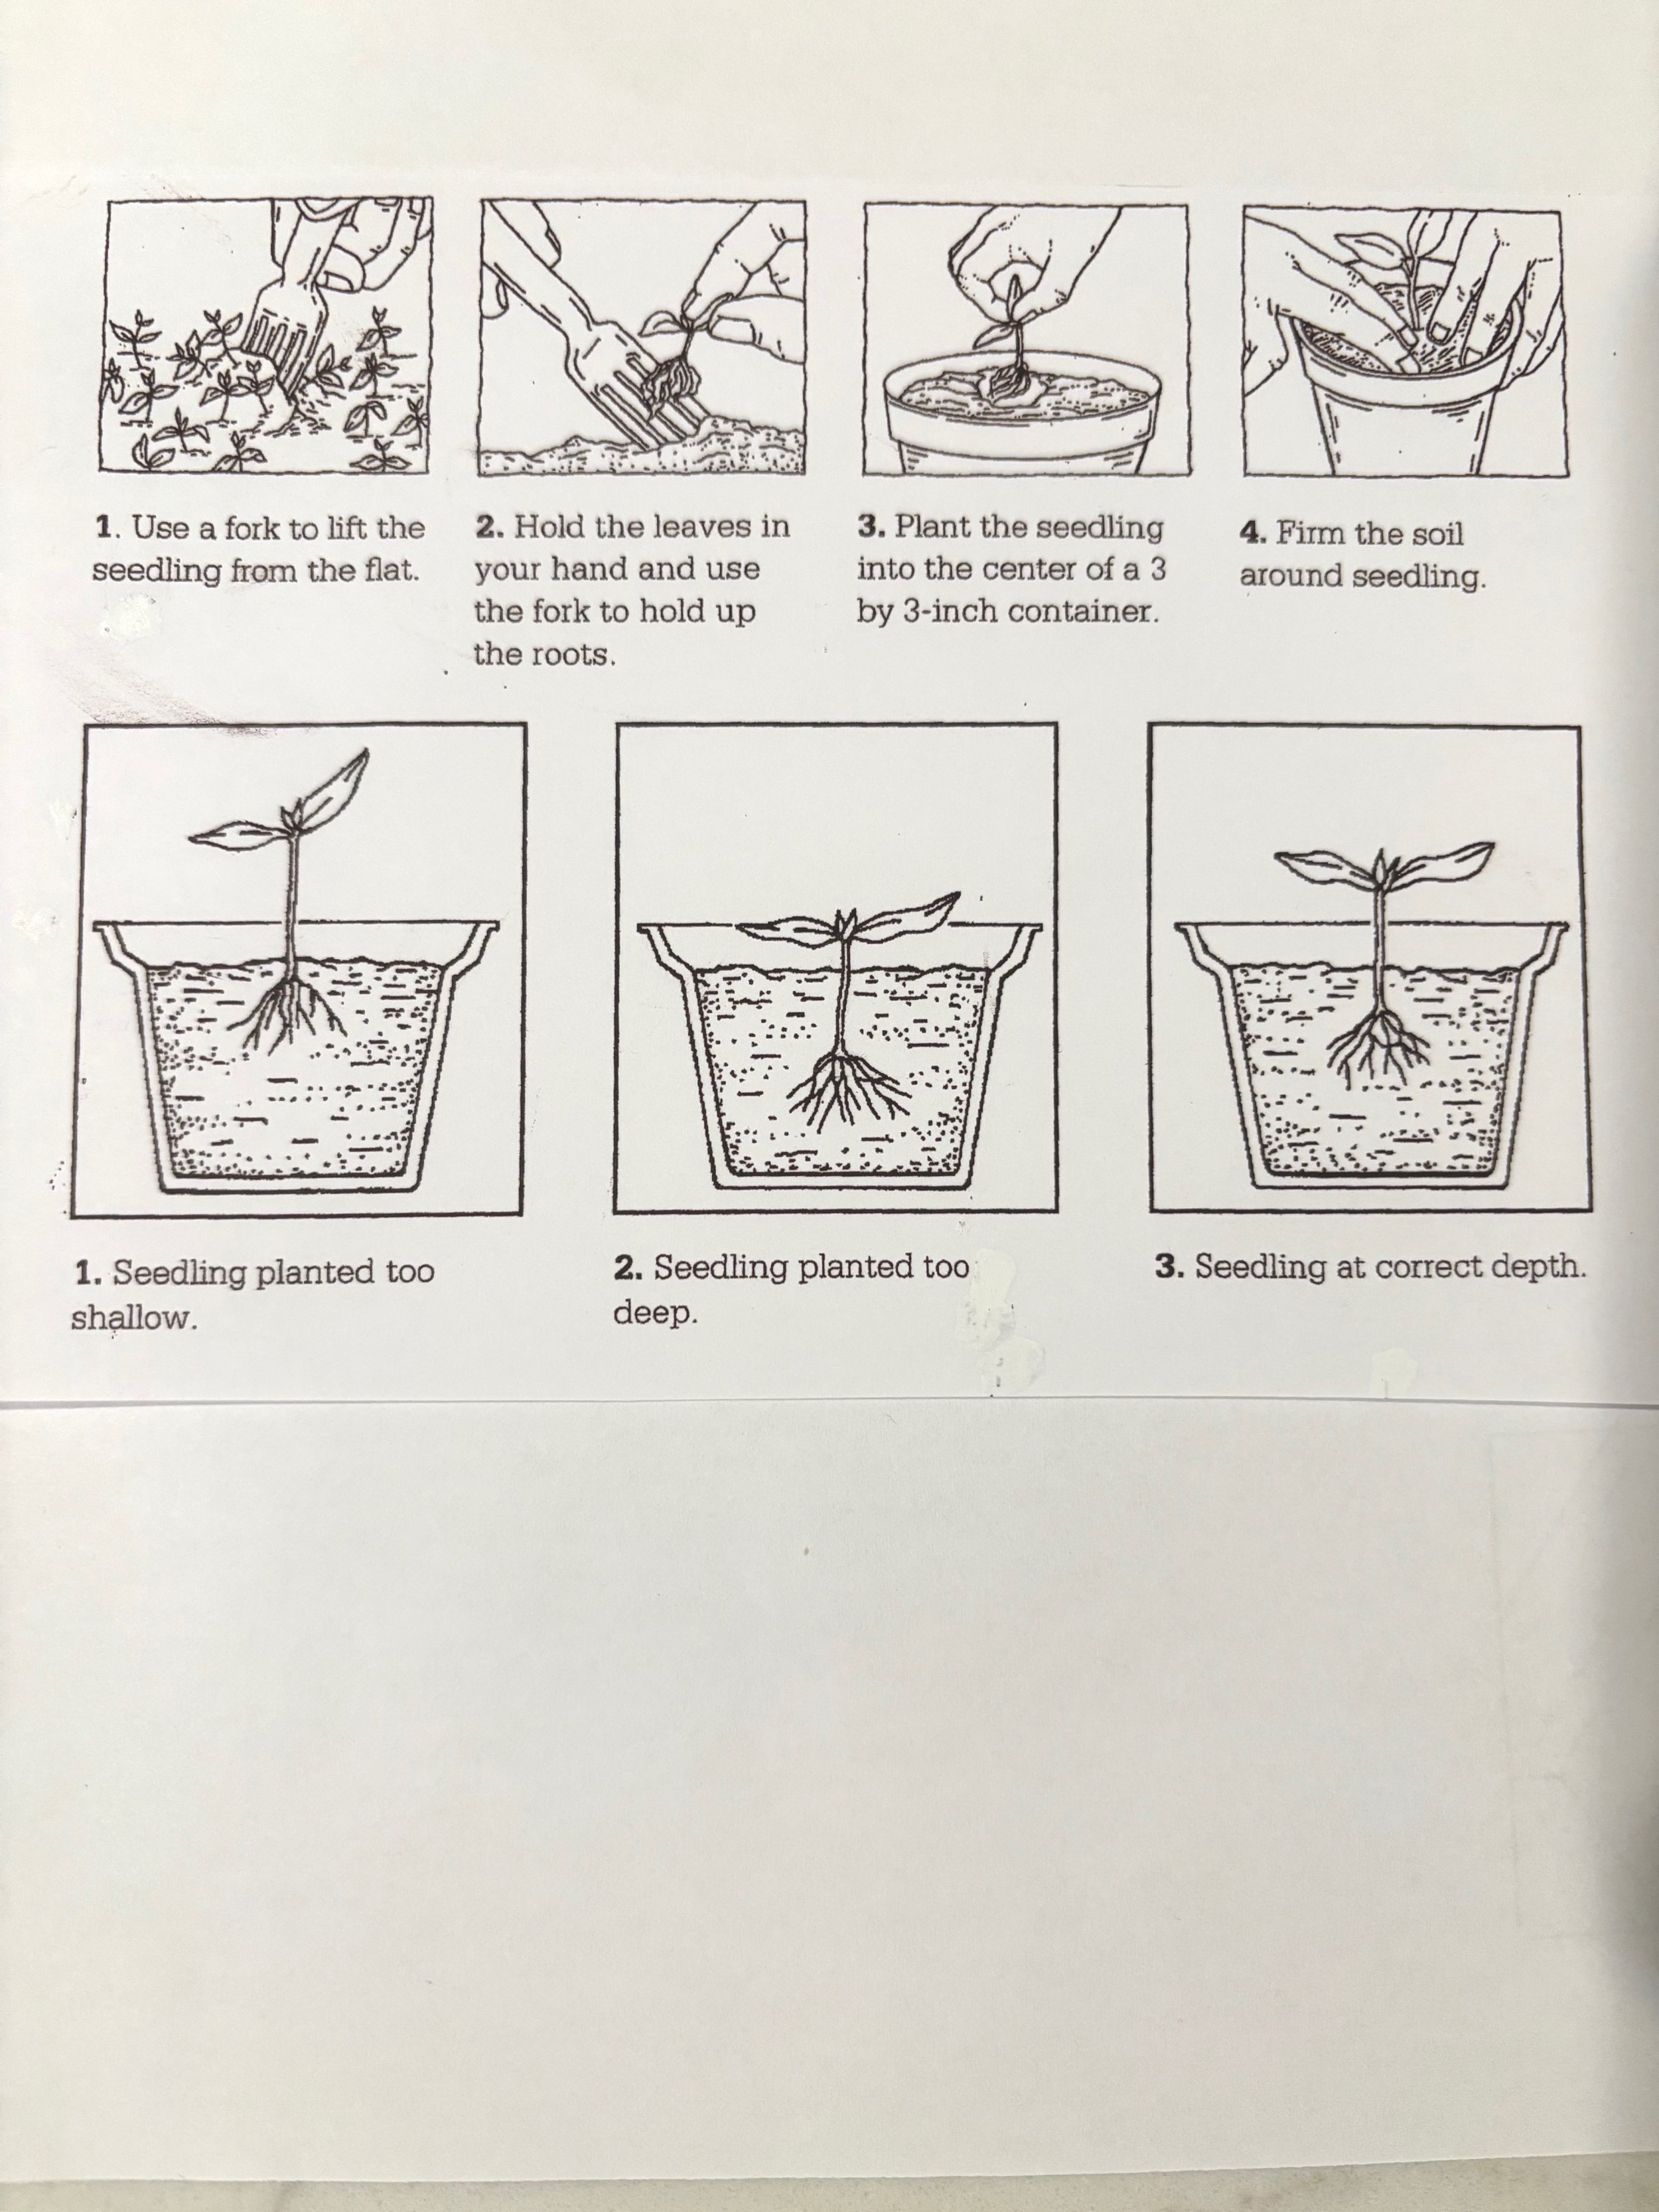
The seedlings should be planted so they are slightly deeper than they were in the germination container.
The transplanting container should be at least 3 inches by 3 inches
Note:
Don’t wait too long after seedlings have developed their first set of true leaves to thin or transplant. If you do, seedling growth can be weak, stunted, and vulnerable to disease by overcrowded growing conditions. After transplanting, keep the soil moisture even. Give plants 12 to 14 hours of light. Transplants like a humidity level of between 50 and 70 percent. Mist seedlings once a day with a mister bottle.
To Transplant:
Use a fork, spoon ,pencil, plastic plant label or a chopstick to gently lift up the seedlings from the potting mix.
Use the tool to hold up the roots as you lift the seedling to transplant it.
Once the roots have been lifted up, gently grasp the seedling by the leaves and transplant into prepared container
Be careful to hold the leaves lightly, since grasping them too hard can damage young plant cells
Seedling stems are especially prone to injury if held too tightly.
Lightly firm the potting mix around the stem base so the roots are in good contact with the soil.
The same soilless mix used for germinating can be used for transplanting, or a regular potting soil mixture will suffice.
Return the transplanted seedlings to their sunny location or back under the lights